

Gardening Lessons to Keep Your Skills Sharp
Keepin’ you as fit as your fork and spade.
“There is ceaseless charm to be found in the home of Mother Nature. As she dusts with snow, even cobwebs sparkle in her magic.”
Angie Weiland Crosby

LESSON ONE: How to Plant A Perennial Strip in Your Garden
Perennials are key when it comes to a thriving planet, and they’re proving to be beautiful hard workers in the home garden. Planting a perennial strip in your garden can be done in a few simple steps:
Choose the location: Determine where you want to create the perennial strip in your garden. Consider factors like sunlight, soil type, and moisture levels. Most perennials prefer well-draining soil and at least 6 hours of sunlight per day.
Prepare the soil: Remove any existing vegetation, weeds, or grass from the area. Loosen the soil using a garden fork or tiller to a depth of about 6-8 inches. Remove any rocks, debris, or roots that may hinder plant growth.
Amend the soil: If your soil is low in nutrients, you may need to amend it with organic matter like compost, well-rotted manure, or peat moss. Work the amendments into the soil to improve its fertility and texture.
Plan the layout: Decide on the arrangement and spacing of the perennial plants. Research the mature size, growth habits, and specific requirements of the selected plants to ensure they are compatible and will thrive in the strip. Consider the height, bloom time, and color palette when planning the arrangement for a visually pleasing effect.
Purchase or propagate plants: Obtain the desired perennial plants from a nursery or garden center. Alternatively, you can propagate plants from seeds, cuttings, or divisions if you have suitable parent plants in your garden.
Dig planting holes: Dig individual holes for each perennial plant, making sure the hole is wide and deep enough to accommodate the root system. Use a trowel or shovel to dig the holes.
Plant the perennials: Place the plants in their respective holes, ensuring that the crown (where the stems meet the roots) is at ground level or slightly raised. Backfill the hole with soil, gently firming it around the roots. Water the newly planted perennials thoroughly.
Mulch and water: Apply a layer of organic mulch around the plants to retain moisture, suppress weeds, and provide insulation. Water the perennials regularly, especially during dry spells or the first few weeks after planting, to help establish their root systems.
Maintain and care for the perennials: Follow the specific care instructions for each perennial plant, including watering, fertilizing, and pruning requirements. Remove any weeds or competing plants that may encroach on the perennial strip. Deadhead spent flowers to promote further blooming and maintain a tidy appearance.
By following these steps and providing proper care, your perennial strip should flourish and provide long-lasting beauty in your garden.
LESSON TWO: Popular Perennials
There are many perennials that are great for attracting and supporting pollinators. Some of the best perennials for pollinators include:
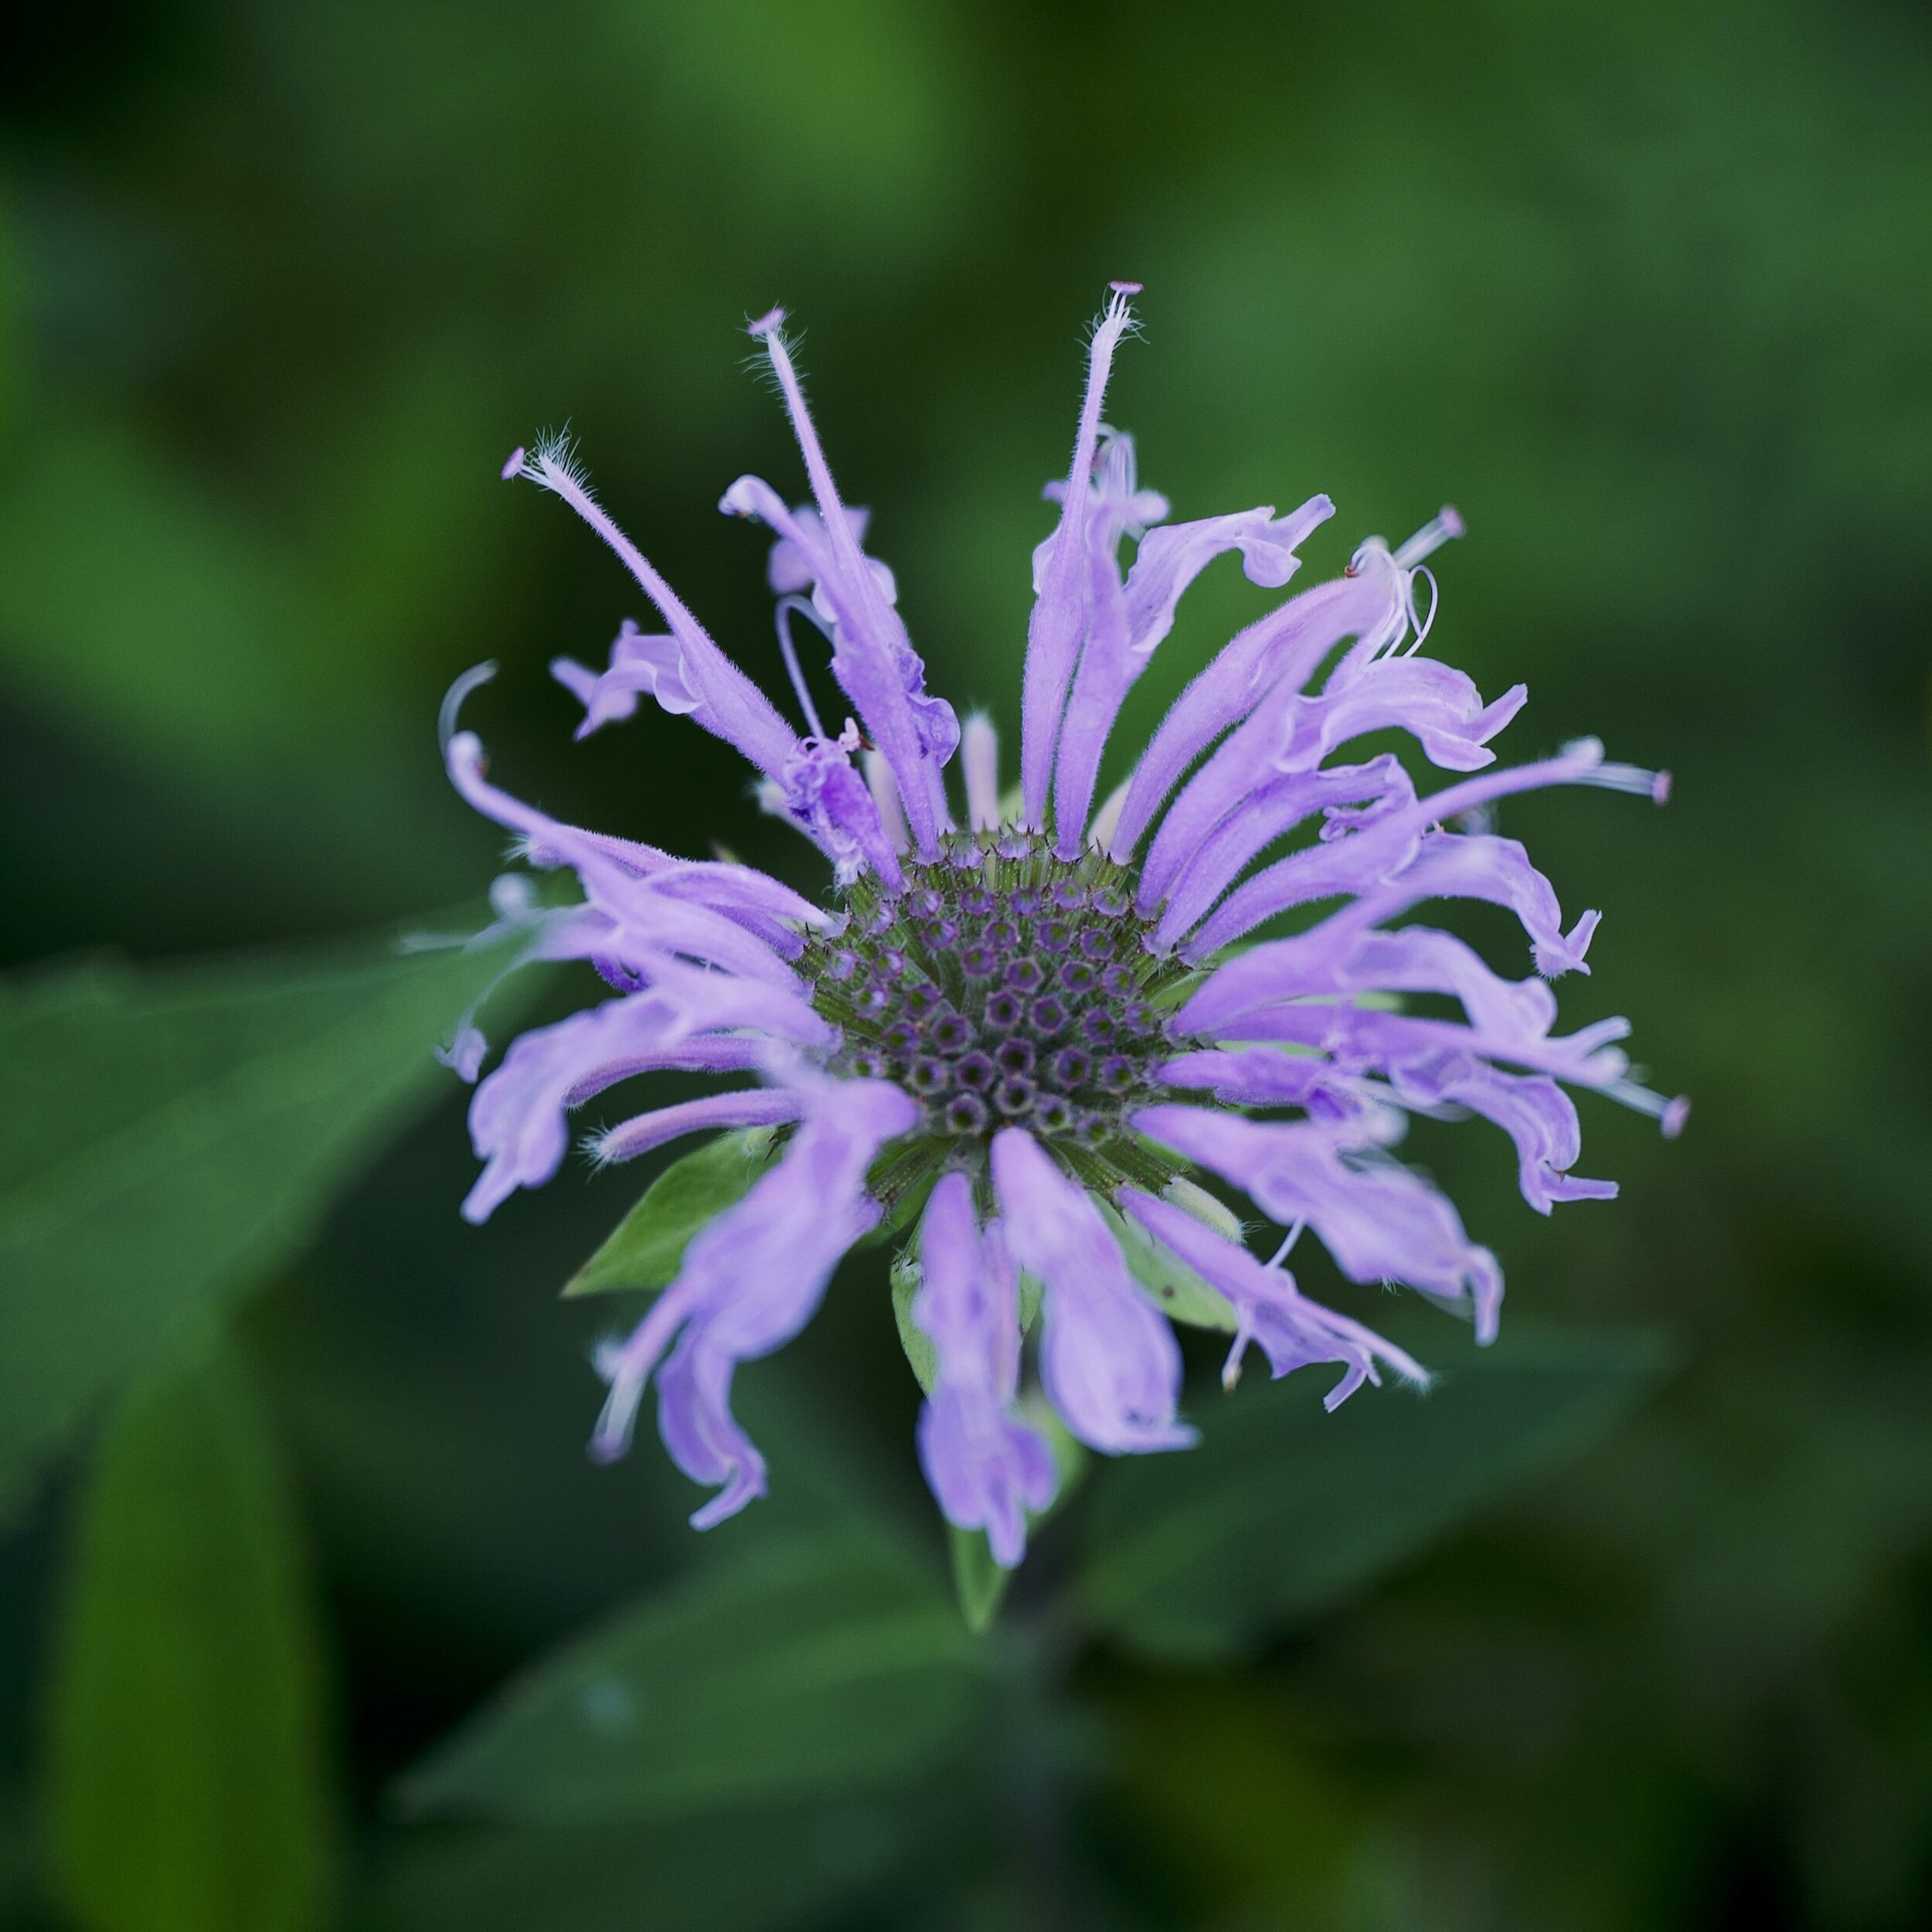
Bee Balm (Monarda spp.): Its vibrant flowers are magnets for bees, butterflies, and hummingbirds.
Purple Coneflower (Echinacea purpurea): This native wildflower is loved by bees, butterflies, and even goldfinches that feed on the seed heads.
Salvia (Salvia spp.): With their showy spikes of flowers, salvias attract bees, butterflies, and hummingbirds.
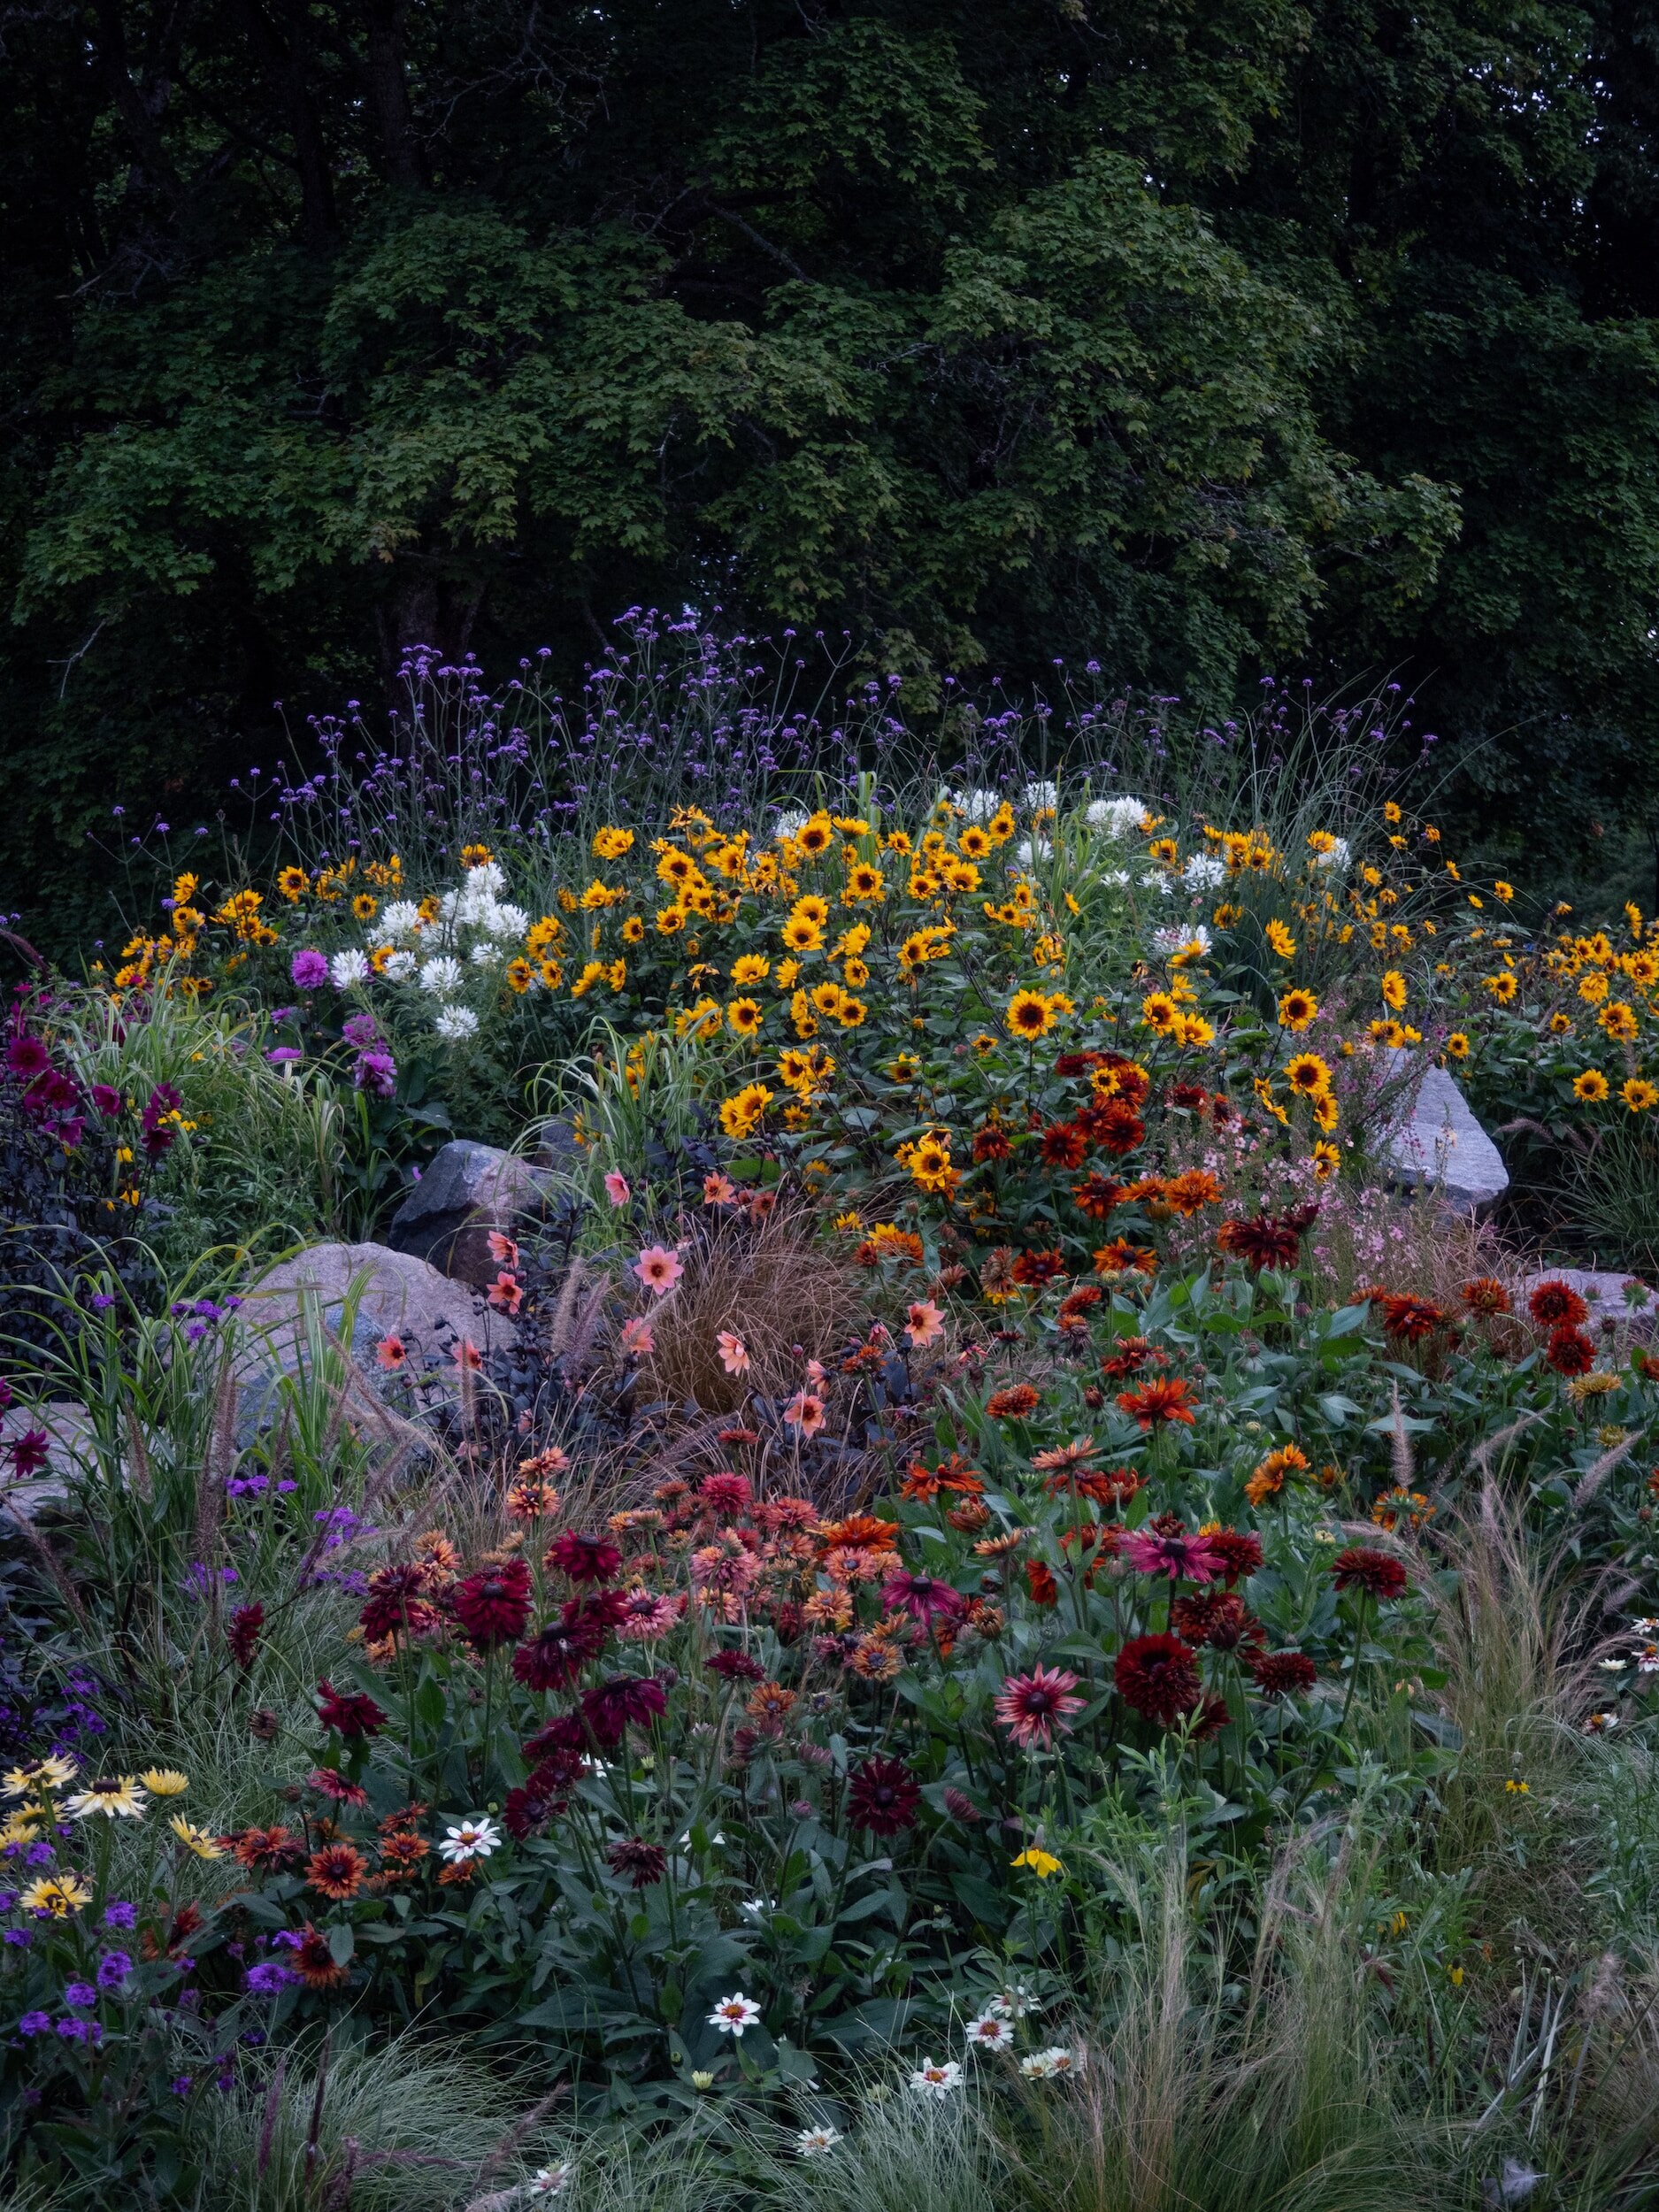
Black-eyed Susan (Rudbeckia spp.): These cheerful flowers are a favorite of bees and butterflies.
Butterfly Weed (Asclepias tuberosa): As the name implies, it is a prime choice for attracting butterflies, especially monarchs, and is a host plant for their caterpillars.
Bergamot (Monarda fistulosa): Similar to bee balm, this native perennial is a favorite of bees, hummingbirds, and butterflies.
Joe-Pye Weed (Eutrochium spp.): With their large, pink flower heads, Joe-Pye weeds are great for attracting various pollinators.
Catmint (Nepeta spp.): Loved by bees and butterflies, this durable perennial is also attractive to cats.
Goldenrod (Solidago spp.): Though often mistakenly blamed for allergies, goldenrod is a superb pollinator plant, attracting bees, butterflies, and other beneficial insects.
Phlox (Phlox spp.): This fragrant flower is a favorite of butterflies and hummingbirds.
Planting a diverse range of these perennials in your garden will help attract and support a wide variety of pollinators.
LESSON THREE: Perennial Pros and Cons
Perennials are often compared to annuals, with their pros and cons being weighed against each other. Here we dive into it:
Pros:
Longer lifespan: Perennials live for multiple years, so you don't need to replant them each year.
Easy maintenance: Once established, perennials usually require less maintenance than annuals.
Cost-effective: Since they come back year after year, perennials can save you money compared to buying new plants every season.
Adds structure to your garden: Perennials often provide a solid foundation and structure to your garden with their long-lasting presence.
Increased biodiversity: Perennials provide a habitat for various beneficial insects, birds, and small animals.
Erosion control: The perennial root systems help hold the soil together, reducing erosion in gardens and landscapes.
Aesthetic appeal: Many perennials offer beautiful blooms and come in a wide range of colors, adding visual appeal to your garden throughout the seasons.
Less replanting: Perennials can save you time and effort, as you don't have to replant them annually.
Varied flowering periods: Choosing a mix of perennials with different flowering times can ensure your garden has continuous blooms throughout the year.
Environmental benefits: Perennials often require fewer pesticides and fertilizers compared to annuals, making them more environmentally friendly.
Cons:
Initial cost: Perennials are often more expensive upfront compared to annuals because they require a longer-term commitment.
Slower growth: Perennials generally take longer to establish and reach their full size compared to annuals.
Limited bloom time: While some perennials have long blooming seasons, others may only have a short bloom time, leaving your garden less vibrant at certain periods.
Limited variety: The range of options for perennials may be narrower than that of annuals, limiting the diversity in your garden design.
Reduced control: Perennials continue to grow and spread, which means you have less control over their placement and growth patterns.
Less dramatic impact: Some perennials may not provide the same burst of color and impact as annuals, making them less exciting for some gardeners.
More maintenance initially: When planting perennials, you need to ensure proper soil preparation and watering, which may require more effort initially.
Potential for overcrowding: Without proper planning and maintenance, perennials can overcrowd and outcompete other plants in your garden.
Disease and pest carryover: Since perennials survive year-round, they can harbor diseases and pests, potentially impacting your garden in the long run.
Limited adaptability: Perennials may be less adaptable to changing environmental conditions compared to annuals, making them more susceptible to weather extremes or climate shifts.
Remember that these pros and cons can vary depending on specific plants and environmental factors, so it's essential to do your research and consider your unique gardening preferences and requirements.

LESSON FOUR: Making an Advent Wreath
A wreath advent with candles is a traditional decoration used during the Advent season to count down the four Sundays leading up to Christmas. It consists of a wreath with four candles, representing each week of Advent.
To make a wreath advent with candles, you will need the following materials:
Wreath base: You can use either a fresh or artificial wreath base made of greenery.
Four candles: Typically, three candles are purple, representing the penitential meaning of Advent, and one candle is pink, representing joy. You can use candleholders to secure them in the wreath or insert them directly into the base.
Candleholders (optional): If using candleholders, make sure they are secure and can support the candles.
Floral wire or ribbon (optional): Use to attach the candles or add decorative elements like bows or ornaments to the wreath.
Decorations: You can personalize your wreath with additional ornaments, berries, pinecones, or other festive elements.
Once you have gathered the materials, follow these steps to assemble and use your wreath advent with candles:
Secure the wreath: If using a fresh wreath, attach it firmly to a door or hang it using a hook. If using an artificial wreath, make sure it is securely positioned.
Place the candles: Insert the candles into the wreath. The purple candles are usually placed evenly around the wreath, while the pink candle is placed slightly apart from the others.
Decorate the wreath: Add any additional decorations you desire, such as bows, ribbons, ornaments, or natural elements like berries or pinecones. Use floral wire or ribbon to attach these decorations securely.
Lighting the candles: Begin by lighting the first purple candle on the first Sunday of Advent. On each subsequent Sunday, light another purple candle, and on the third Sunday, light the pink candle. Finally, on the fourth Sunday, light the last purple candle.
Burning time: As you light each candle, let it burn for a short duration during the Advent season, symbolizing the progression towards Christmas. It is common to light the candles during meal times or family gatherings and let them burn for a period, typically between 15 minutes to an hour, depending on safety precautions and personal preference.
Safety precautions: Always ensure that the candles are never left unattended, and keep them away from flammable materials, drafts, or anything that may pose a fire hazard.
Using a wreath advent with candles allows you to mark the passing weeks of Advent and create a festive atmosphere as you prepare for Christmas.